


TIPS ON BUILDING A HOME RECORDING STUDIO
Article by Jordan Hall
The recording scene is evergreen, ever-growing, and ever-changing. There are several brands that all make similar products, and the scene is evolving. All of the big industry names are constantly designing new incredibly unique products for recording and production, so it’s easy to get overwhelmed. Breathe, and keep in mind that you don’t need to compile a fat budget to build a quality rig that suits your needs and goals.
// The Basics
DAW (Digital Audio Workstation)
Audio Interface
Microphone(s)
Studio Monitors
Headphones
MIDI Controller(s)
Cables, stands, etc.
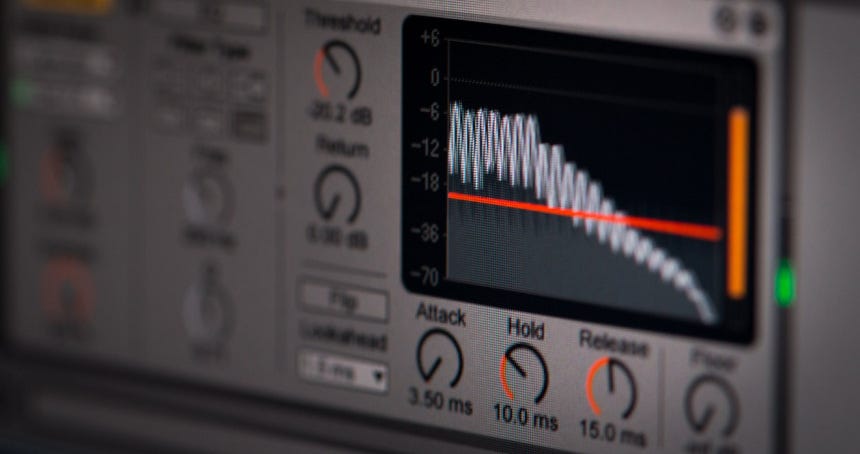
// Recording Software (DAW)
To start, we need a “brain” for the studio. A digital audio workstation (DAW) is a unique type of software that is suited for processing audio. It helps us record, mix, and master music or other audio. It also has several tools that will allow us to manipulate and edit audio files.
There are many recording software options out there, and every recording engineer has a preference. All DAWs are different with varying areas they excel at, but they all function similarly. Here’s a list to ponder. Try them all out and get in touch with what program feels the best and fits your budget. Over time, you’ll get more in-tune with what workflow works best for you. Be prepared for a little bit of trial and error.
The keyword is “trial”. Give the trial versions a test drive before you commit.
- Pro Tools
- Ableton Live
- Logic
- Reason
- FL Studio
- Reaper
- Cubase
// Audio Interfaces
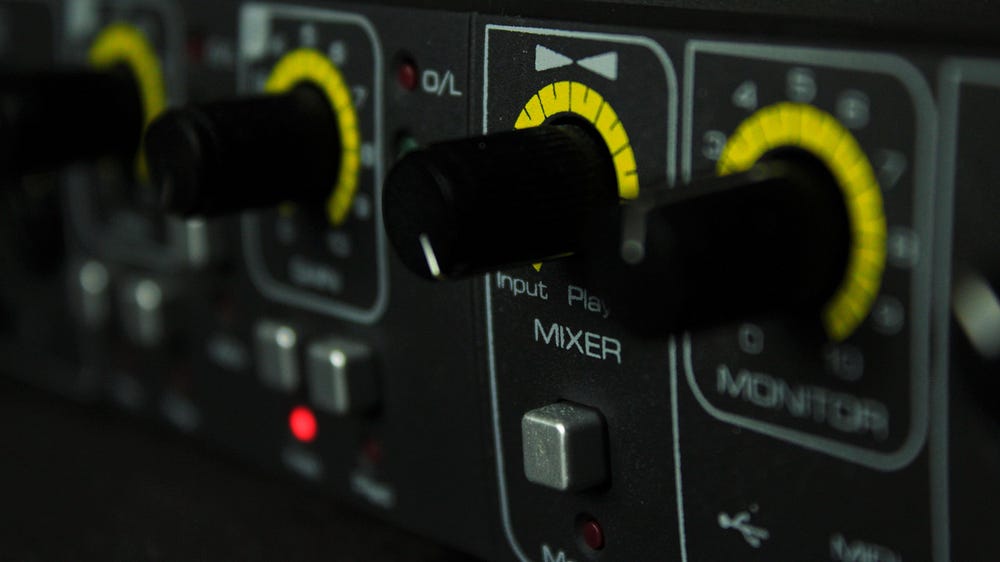
If you’re going to record audio, then you’ll need an audio interface. An audio interface is a digital to analog converter that captures analog signals and converts them into a digital format that your computer can understand.
When shopping for an audio interface, there are a few things to look for.
I/O Capability — How Many Inputs and Outputs?
I/O is a specification that explains input and output capability. For example, an interface might be a 2×2 which tells us that it has 2 inputs and 2 outputs. This will vary depending on what your needs are. Do you plan to track full bands, or are you tracking singular vocalists — rappers or singer/songwriters? Larger projects call for more I/O. Pretty simple.
Connectivity Types
There are 3 common types of audio interfaces.
USB — These interfaces are the most abundant, and they’re pretty versatile overall. They are “bus powered” which means they don’t require an external power source.
FireWire — Most computers lack FireWire ports. Although some may argue in favor of them for their efficiency to process multiple channels of audio, there are few FireWire options out there. Most FireWire ports are found on Macs, so if you choose this route with a PC, you’ll need a FireWire expansion card.
Thunderbolt — These interfaces offer lightening fast transfer speeds that double the speed of USB. These interfaces are a good option if you plan on handling larger audio projects and I/O demands. Thunderbolt ports are found on newer Macs and allow for USB and FireWire connectivity as well. Up to 6 peripherals can be “daisy-chained” together per port.
What Type of Inputs?
Audio interfaces are stocked with various combinations of input types that are meant for different sources. Buy an interface that’ll cover your basic I/O needs with extra room to grow.
XLR — Balanced microphone inputs. How many microphones will you use at any given time? As a general rule of thumb, always shoot for more than you think you’ll need.
1/4″ Balanced — Really versatile with multiple uses; synthesizers, electric guitars, effects…
MIDI — Stands for Music Instrument Digital Interface. Although most MIDI controllers have USB functionality, MIDI I/O can open up some really great possibilities. Plus, a couple of extra MIDI ports might be nice to have just in case.
Combination — Many smaller audio interfaces feature combo jacks that allow for 1/4″ instrument cables OR XLR inputs.
USB — Yes, there are some audio interfaces that offer extra USB ports. This is extremely helpful if you have limited USB ports on your computer and a lot of USB controllers.
You want an audio interface that will suit your I/O needs and your budget. If you plan on recording full bands, you’ll need plenty of I/O — something like a Scarlett 18i20 for example. As stated before, shoot for more I/O than you need. You never know when you’ll need an extra input or output!
// Microphones
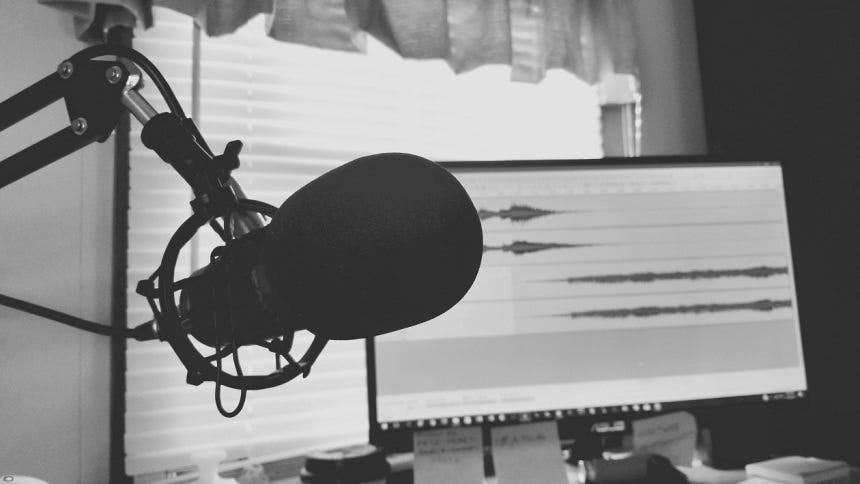
Quality microphones are a must-have for recording anything. There are several types, and some price tags skyrocket well above $1,000. If you’re just starting out, you don’t even think about creeping towards that price range. A good microphone can run anywhere from $200-$400. Quality mics are well built and reliable. For the beginner, it’s best to stick with versatile microphones that can record multiple sources. Microphone shopping gets overwhelming! For someone just getting into recording, it’s best to stick with a good condenser mic and a versatile dynamic mic.
Condenser microphones require phantom power, which is 48V that powers the microphone and brings the signal up to an appropriate level for recording. It’s best to grab a reliable vocal mic, pure and simple. While you can technically record anything with anything, a large diaphragm condenser microphone is ideal for vocals.
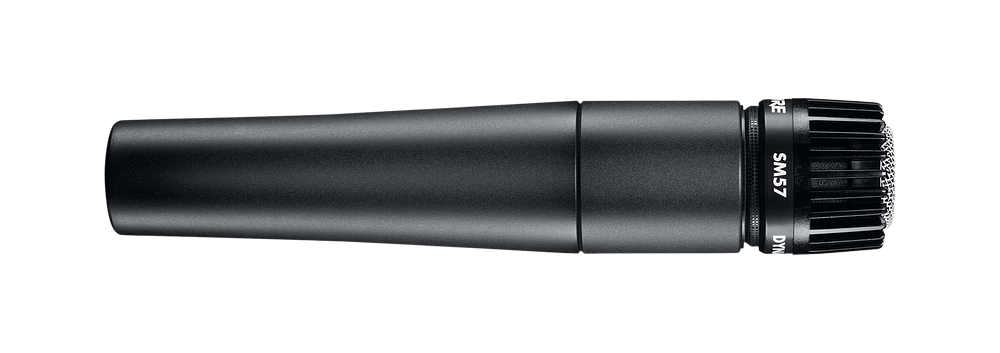
Additionally, everyone (yes everyone) should own a Shure SM57. It’s the most popular microphone in the world and probably the greatest ever made. I’m not exaggerating.
An SM57 can be used to record pretty much anything, and it’ll do a killer job at it, no matter what. Plus, SM57 are practically unbreakable. For just $99.99 with a lifetime warranty thrown in, why would you pass this one up?
You may also want to check out its brother, the SM58 (also unbreakable).
Other guides may offer several recommendations for microphones, but there’s no need to get carried away with microphone specs this early. Like several other areas of recording, much of these topics fall on personal preference.

// Studio Monitors
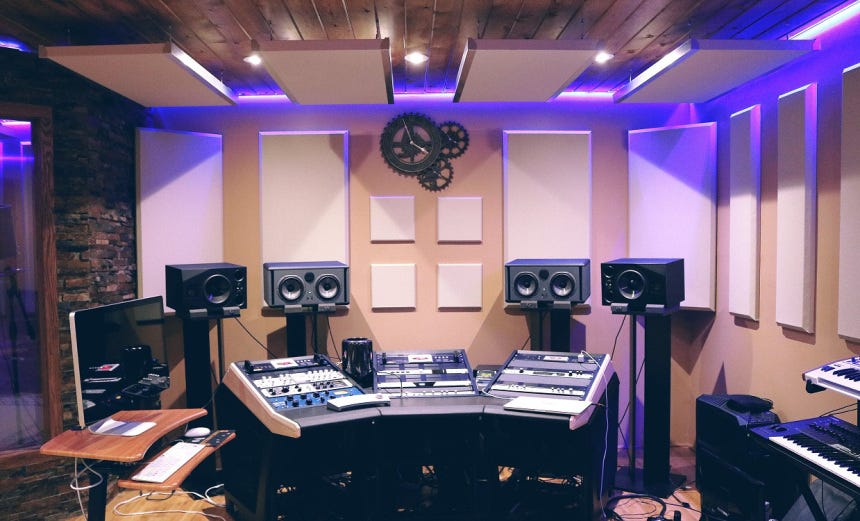
Studio monitors are professional speakers that are used for monitoring playback, mixing, and mastering. A good, well-rounded pair of studio monitors will allow you to accurately experience the way audio behaves across a wide spectrum. Monitors are designed to have a “flat” response that is clear and precise. This ensures an accurate reproduction of the audio. This is really important for mixing and mastering.
Studio monitors come in different sizes, distinguished by the size of the woofer speaker in inches. For example, I have a pair of JBL 5.
It’s advised to pick monitors that suit the size of the room. Bigger studio monitors do not guarantee a better sound, especially if your room is small in comparison. Quite honestly, this could backfire when it comes time to mix and master. If you have a smaller room, stick to a pair of 4″ or 5″ monitors. Larger rooms can get away with larger 8″ or 10″ monitors.
Speaker placement is also a critical factor in how you perceive the audio. That’s an entirely different subject. Just be sure to purchase a pair that fits the room. You can tackle speaker placement later on.
// Headphones
Along with studio monitors, be sure to grab a pair of studio headphones to match. Headphones can serve different purposes, and down the road you may even want more than one pair. Headphones can be used for monitoring different sources and mixes. They can be used to mix on, but it isn’t recommended. That’s what studio monitors are for. Headphones are used mainly for reference. It’s nice to have a couple ways to monitor playback. Plus, make sure to get an extra set, or sets, for the recording artists. It’s important that they can monitor themselves when recording!
At this point, there’s no need to drop a lot of money on headphones. It’s probably best to invest the bulk of you budget into studio monitors instead. All you need is a set or two to monitor playback. My personal recommendation is the Audio Technica ATH-M50.

Browse around! There are plenty of other brands and options that are affordable.
// MIDI Controllers
Recording analog sources is only half the battle. There are also software-rooted virtual instruments that are housed in libraries within your DAW. To take control of these virtual instruments, we need a MIDI controller. These controllers get our hands off the mouse and give us a tactile surface to work with.
MIDI controllers come in many different varieties, but for the newbie I recommend keeping it simple with a MIDI keyboard.
MIDI keyboards are the go-to controller for virtual instruments from keys to drums. They come in different sizes that are categorized by the number of keys. Some keyboards come with additional faders, knobs, and transport controls as well.
It’s important to know that MIDI is not audio! MIDI controllers don’t house any sound banks or produce any audio. Think of it like a large remote. It helps us control preset sounds built into the software.
// Cables, Stands, & More
Here’s a spare list of gear to have on hand. This will vary depending on your budget and the scope of the project studio.
- Cables (XLR, MIDI, TRS, TS, USB)
- Mic Stands
- Music Stands
- Acoustic treatment
- Hard drive(s)
- Monitor pads
- Speaker stands
- Pop filter
- Ear plugs (protect your hearing!)
- Ear buds (extra monitoring option)
// Wrapping Up
The equipment listed in this article is just a jumping off point. These are some of the bare essentials to get up and running. As you progress, you’ll find gear to add that’ll extend the functionality and flexibility of your rig.
In general, make sure you cover all of your bases without burning a charred hole in your bank account. Believe me, it can be done. Also, don’t get discouraged if it takes you a while to lock down all of this equipment. It can get expensive no matter what your budget looks like. I stress this one rule — baby steps. Take it a piece at a time, and secure a versatile set of gear that will allow you to get the bare minimum done efficiently.
Featured Photo by Paulette Wooten on Unsplash


